Concrete roof tiles are gaining popularity among homeowners due to their aesthetic features. They’re designed to be resistant to harsh weather and to last for a long period. Concrete tiles come in different styles and colours to complement any type of building.
The process of installing a concrete tile isn’t a difficult one, however, it’s best to allow a competent contractor to handle the project. This article will explain the concrete roof tile installation process step by step. Continue reading to learn more:
Concrete Roof Tiles Installation Process
Step 1: Preparation and planning
The first step to installing concrete roof tiles is to plan and prepare. This means choosing the right type of concrete roof tiles that best suit your home. Ensure the roof structure is strong enough to carry the weight of the tiles because some concrete tiles are usually heavier than normal.
Step 2: Get Rid of The Existing Roof
Before installing a new roof, you need to get rid of the old roofing materials including the shingles and underlayments. Also, the roof structure should be inspected to ensure it is strong, sturdy and ready to take on a new set of concrete roof tiles.
Step 3: Installing the underlayment
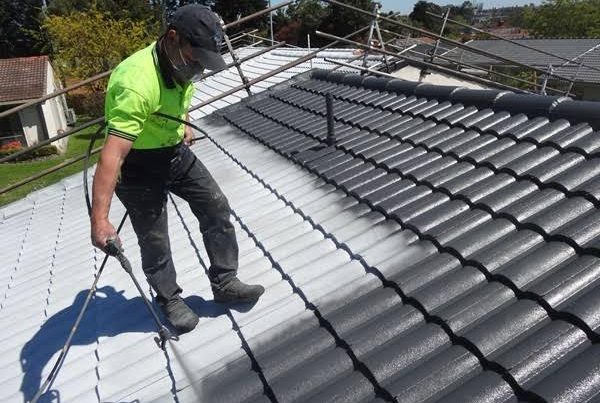
The underpayment helps to prevent water infiltration which is why the best underlayment material should be used for this process. The underlayment should be held in place with nails and staples and additional materials like waterproofing should be applied on the underlayments too.
Step 4: Installing the Battens
Battens help to provide a framework for the tiles and also help control water drainage and prevent water infiltration. They’re installed across the roof, starting from the edge. The installation process depends on the size and type of concrete roof tiles being used. The battens should be fastened securely to the roof deck.
Step 5: Laying Out The Tiles and Securing the Tiles
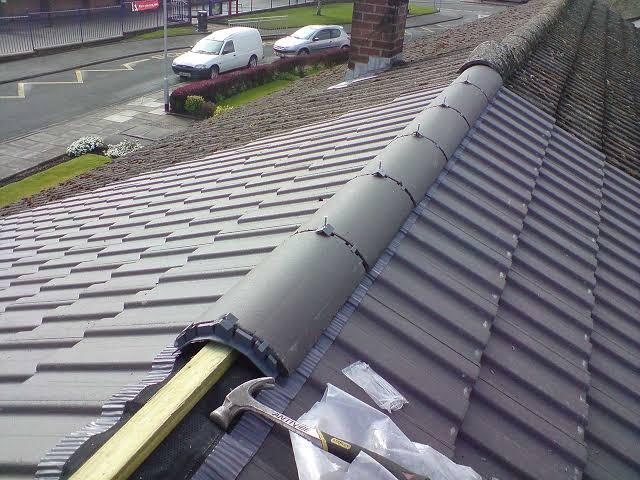
Before you proceed to install the tiles permanently, first lay them out on the roof to know the pattern and arrangements you’re going to follow. This step helps in discovering any necessary cuts or adjustments. Some concrete tiles have interlocking features that help with easy installation. After completing the layout, you can proceed to secure the tiles with the battens using nails or clips.
Step 6: Clean and Final Inspection
This step involves cleaning up the work area and carrying out a proper inspection of the roof. This is the part where you get rid of any debris, loose nails or excess mortar on the roof. Also, check the tiles and ensure they’re properly secured and aligned. Allow a professional roofing contractor to complete the inspection to ensure that your roof meets all safety standards and provides the best shelter for you.

Conclusion
Installing concrete roof tiles is a process that involves careful planning and preparation. It’s easier to complete the project if it’s handled by a professional roofing contractor since they have the skills, experience and tools to install your roof properly. At Sunshine Roofing, our workers are qualified to help with the installation of your concrete roof tiles.
Contact us today to get the best roof restoration Melbourne services!