The period of installing a new roof can take anywhere from a day to a week depending on the complexity of the job, the size of the roof, and the weather conditions. The process is not an easy one as it involves many components and features.
This article will carefully explain the process of concrete roof tiles replacement so you understand what is going on with your roof when you begin your roofing project. Read on!

8 Steps to Roof Tile Replacement
- Initial roof inspection
The first step to roof replacement is noticing some damage to your roofing. When you notice any damage or disrepair, or your roof is past its life expectancy, you can call a roofing contractor to inspect your roof. Your roofing contractor will then assess the condition of your roof, its size, and layout, and provide an estimate of the materials needed to re-roof your home.
- Selecting Your Roofing Material
The next step is to choose the roofing materials for your roof replacement. Your roofing contractor will provide different options so you can choose the materials that best suit your budget and preference.
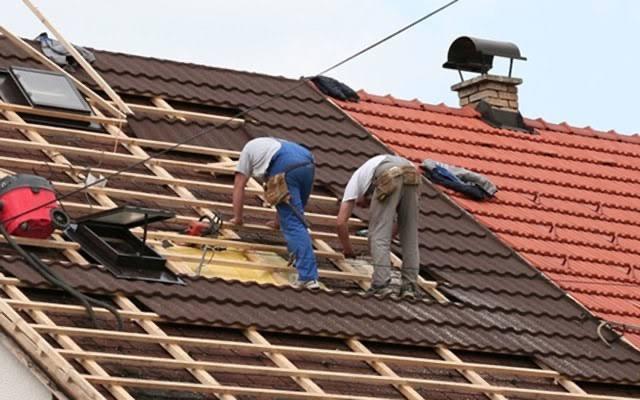
- Removal Of The Old Roof tiles
The old roofing roof tiles will need to be removed to create room for the new roofing materials. This is essential because installing a new roof over old roof tiles will reduce the lifespan of your new roof and may even lead to future problems like leaks.
- Prepare The Roof Decking
The next step is to prepare the roof deck for the new roof tiles and this includes repairing damaged rafters or plywood and removing old nails. This process is important because it enables you to fix your roof deck and install your new roof properly.
- Install Any New Vents
The period of replacing your roof is the best time to get new vents, especially if the old ones are damaged or worn out. Adding new vent holes will increase attic ventilation and ultimately increase your home’s energy efficiency.
- Install Starter Shingles
An extra layer of shingles will be installed along the edges of the roof. This is to provide protection and strength against harsh weather elements like water and wind.
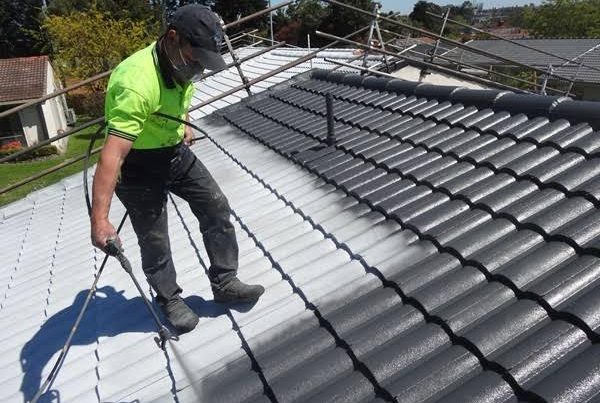
- Install Roof Replacement Tiles
Finally, it’s time to install the main roof tiles. Your professional roofing contractor will install the roof tiles carefully starting at the eaves and overlapping to the peaks.
- Complete Clean-Up
The cleaning process simply involves getting rid of stray nails, excess tiles, and other materials used in the roofing process. After your roof installation, your yard should be as clean and neat as possible.
Conclusion
The process of installing a new roof isn’t a difficult one if handled by a professional roofing contractor. They have the skill and experience to install your new roof without causing any inconvenience to the homeowner.
At Sunshine Roofing, our team is well-equipped to provide professional roof replacement services. If you’re looking for the best replacement roof tiles services, we’re your best option.
Contact us today to learn more about our services!